Earlobe Repair Surgery | Lobuloplasty
Earlobe repair surgery is a straightforward outpatient cosmetic procedure designed to mend earlobes that have been torn, split, stretched, or gauged. Medically, this procedure is known as Lobuloplasty.
Why is it needed?
- Heavy earrings that gradually enlarge holes
- Trauma (accidental pulls or tears)
- Gauges or plugs that stretched lobes permanently
- Aging, which causes thinning and sagging
How is it done?
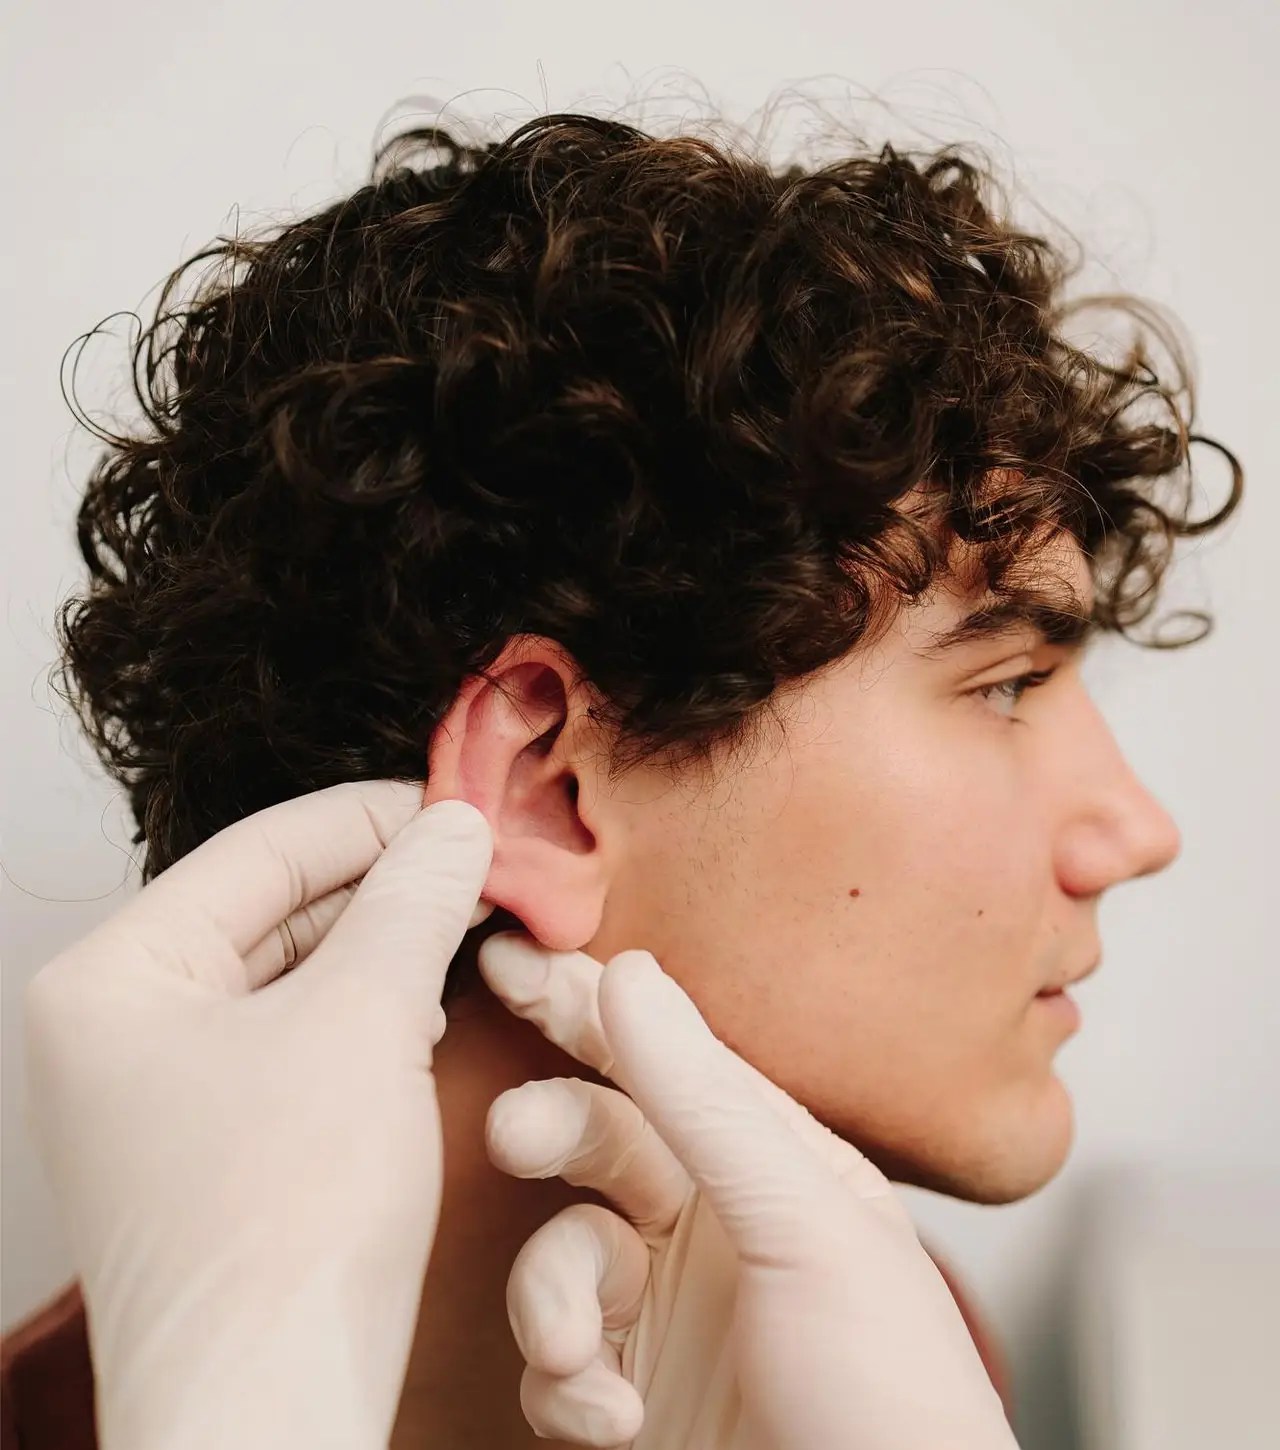
- The earlobe is numbed with local anesthesia.
- Damaged skin is carefully removed from the torn edges.
- The earlobe is stitched back together with fine sutures to create a natural contour.
- Dissolvable or removable stitches are used, depending on the technique.
Conditions Treated, Procedure, Recovery, and Aftercare
- Complete split: The hole in the earlobe has completely torn through to the bottom edge.
- Partial tear/elongated hole: The piercing has stretched or drooped a bit, but the lobe is still intact.
- Gauge (tunnel) stretching: Lobes that have been intentionally expanded now look thin, droopy, or have a “windowed” appearance.
- Traumatic deformity: Injuries like bites, cuts, or snagged earrings can lead to uneven edges.
- Keloid-prone piercings: You might see overgrown scar tissue around older piercings, which may require special keloid treatment.
- Asymmetry or size concerns: These can often be fixed with gentle tissue reshaping.
When performed by an experienced ENT Specialist, lobuloplasty can
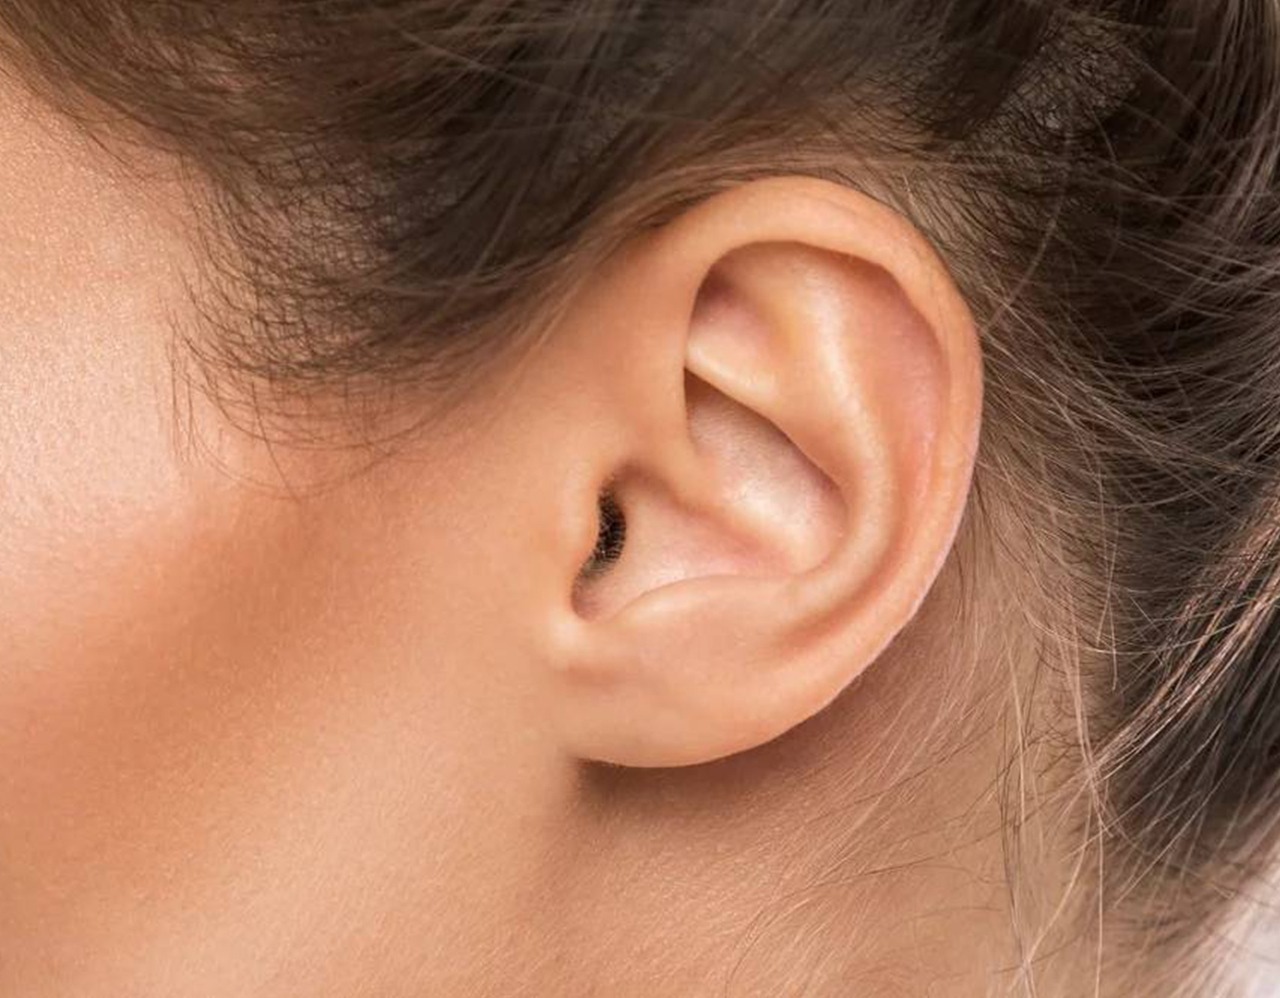
- Restores shape and symmetry to the ear
- Closes splits and stabilizes the lobe for future jewelry
- Boosts confidence—no need to hide ears or skip earrings
- Quick procedure: typically 20–60 minutes; done under local anesthesia
- Minimal downtime: many people return to their routine the same day
- Long-lasting results with proper aftercare
Most earlobe repairs take place in a clean clinic environment, using local anesthesia to keep you comfortable while you’re awake.
- Marking & Numbing
The surgeon starts by outlining the area that needs repair and gently injects a local anesthetic. You’ll be awake but feeling at ease.
- Freshening the Edges
If you have splits or elongated holes, the surgeon will remove the inner skin of the torn area to expose healthy edges that can heal together.
- Reshaping
- For small splits, a straight-line closure is used.
- Wedge excision helps to eliminate thin or irregular tissue.
- Z-plasty or triangular flaps are employed to redistribute tension and reduce notching.
- Rotation or local flaps are ideal for larger gauge repairs or when there’s a tissue deficit.
- A layered repair technique adds structural support to prevent a “step-off” appearance.
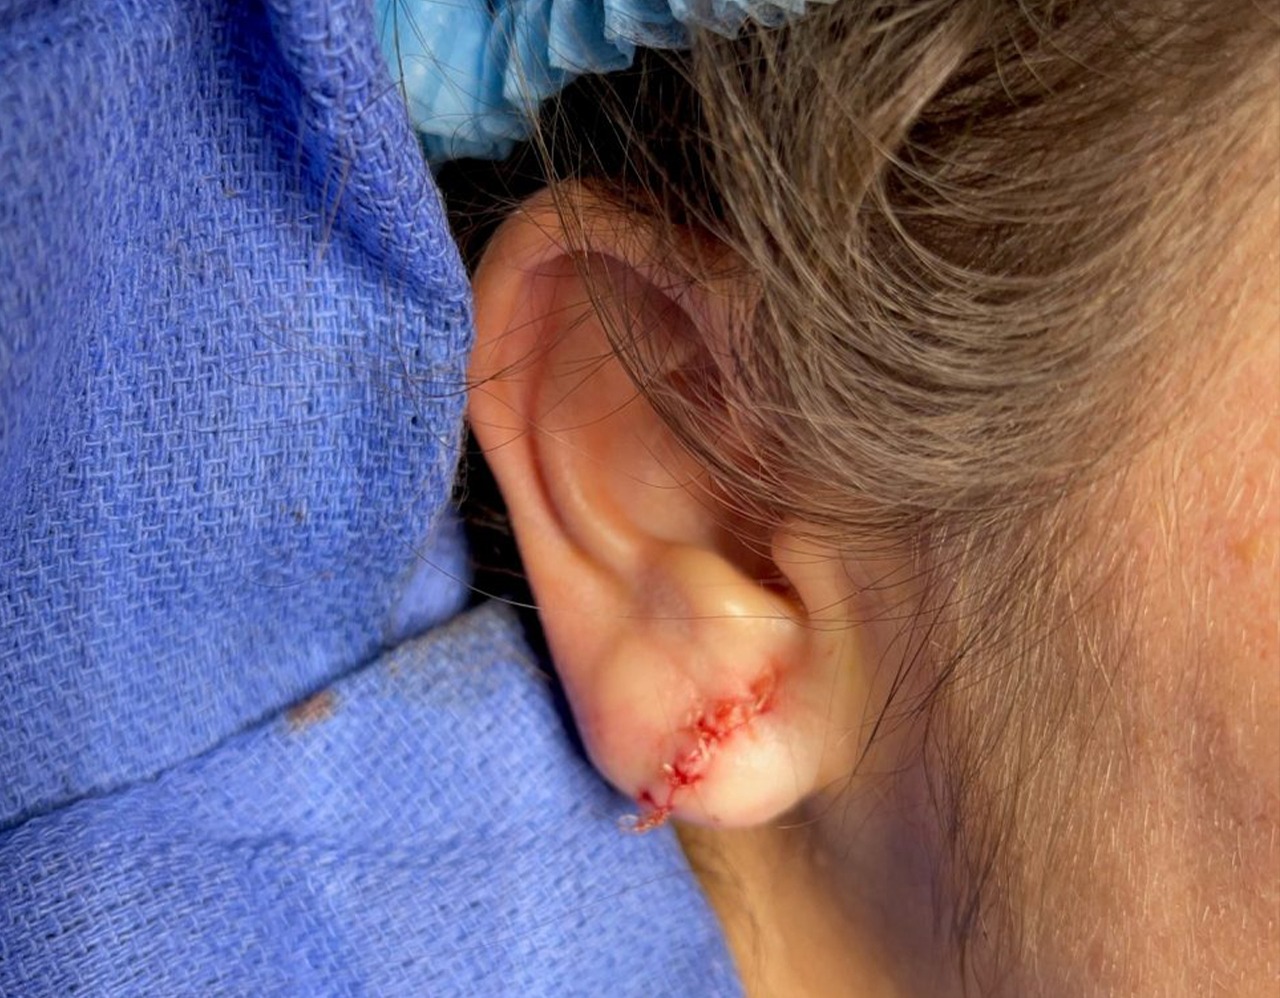
- Fine Suturing
Microscopic or fine sutures are used to close the deeper tissue and skin, aiming for a smooth earlobe edge without any notches.
- Dressing & Aftercare
A small dressing or steri-strip is applied, and you’ll receive written care instructions along with a follow-up appointment date.
Duration: The procedure typically lasts between 20 and 60 minutes, depending on its complexity and whether one or both ears are being treated.
- Days 0 to 2: You might notice some mild swelling and a little oozing; just make sure to keep those dressings clean and dry.
- Days 3 to 7: Itchiness could start to kick in, so try not to touch or pick at it. Stick to gentle cleansing as your doctor advised.
- Days 7 to 10: If you have non-absorbable sutures, it’s time for removal. You’ll see that the skin edges are looking a bit pink.
- Weeks 2 to 4: Most of the swelling should be gone, and your scar will start to mature.
- Weeks 6 to 8: If your surgeon gives the green light, you can usually re-pierce at this point.
- Months 3 to 6: The scar will soften and its color will fade, with the final contour becoming visible around the six-month mark.
Possible Risks
- You might face infection, bleeding, or even a hematoma.
- If the area gets bumped too soon, there’s a chance of wound separation.
- You could end up with notching, uneven contours, or asymmetry.
- Some skin types are more prone to hypertrophic or keloid scarring.
- Heavy earrings or accidental pulls might cause a split to recur.
- There could be changes in pigment along the scar line.
Our Mitigation Steps
- We use strict sterile techniques and handle tissue gently.
- A tension-free, layered closure helps minimize notching.
- We design tailored flaps specifically for gauge repairs.
- A scar care plan is in place, including silicone, pressure, and steroids if needed.
- We provide clear guidance on safe re-piercing and jewelry options.
Do
- Keep the area clean and dry for the first 48 hours.
- Gently cleanse with saline or follow your doctor’s instructions.
- Sleep on the opposite side for a few days to minimize pressure.
- Use any prescribed ointments or silicone scar gel if recommended.
- Protect your scars from sun exposure.
Don’t
- Submerge in pools or hot tubs until you get the green light.
- Apply makeup or heavy creams to the fresh incision.
- Wear earrings until your surgeon gives the go-ahead for re-piercing.
- Smoke or vape, as nicotine can slow down healing and worsen scars.
- Tug, manipulate, or massage the healing lobe unless your doctor says it’s okay.
